Larpe is a Liberty Alliance Reverse Proxy. It allows any service provider (that is a website) to use Liberty Alliance features (Identity federation, Single Sign On and Single Logout) without changing the code of the service provider itself. It uses the Lasso library which is certified by the Liberty Alliance consortium.
Lasso and Larpe are released under the terms of the GNU GPL license.
The following site engines have been tested and fully work with Larpe (non-exhaustive) :
as well as other specific and not public sites.
Larpe needs the following softwares:
Add the following line in the file /etc/apt/sources.list, this will give you access to the repository where Larpe is stored:
deb http://deb.entrouvert.org/ sarge main
# apt-get update
# apt-get install larpe
First install these softwares:
Then download and install these additional softwares:
Uncompress the sources you have downloaded
$ tar xzf larpe*.tar.gz
$ cd larpe*
Then install Larpe, as root:
# make install
# su www-data
$ /usr/sbin/larpectl.py start
When you want to uninstall Larpe, just type, as root:
# make uninstall
Load the following Apache 2 modules, using your distribution specific tools :
# cp apache2-vhost-larpe /etc/apache2/sites-available/apache2-vhost-larpe
Edit the file /etc/apache2/sites-available/apache2-vhost-larpe to configure Apache 2 for Larpe. You will see these lines:
ServerName localhost
ServerAdmin root@localhost
You may also need to change this line, depending on your general Apache 2 configuration:
<VirtualHost*:80>
If you intend to use SSL (https) for Larpe or for any site you will configure in Larpe, you will have to configure SSL support on your Apache 2 server first.
Activate this virtual host, as root:
# a2ensite apache2-vhost-larpe
# /etc/init.d/apache2 reload
# /etc/init.d/httpd reload
If you don't have an Identity Provider yet, you can install Authentic. You can find information to install and configure it on Authentic manual.
In Larpe administration interface, click on "Settings", then "Identity Provider".
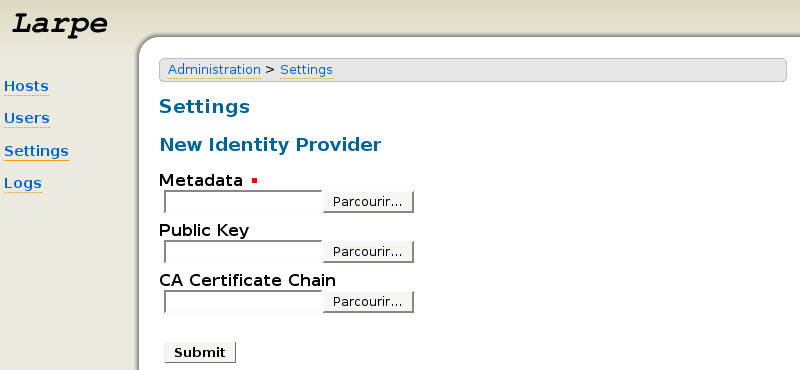
Fill in the metadata file that you've got from your Identity Provider then click Submit. Your Identity Provider is now configured in Larpe, you can then configure as many Service Providers as you want.
In order to restrict access to Larpe administration, you must configure Larpe as a Service Provider.
Click on "Settings", then "Service Provider".
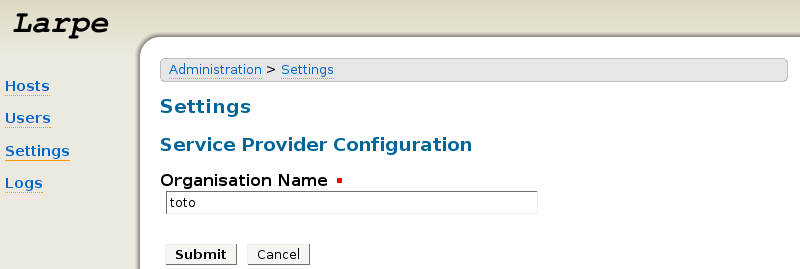
Fill an "Organisation Name" then click "Submit".
Save the Service Provider Metadata (for ID-FF 1.2) (right click then "Save as"). Configure this Service Provider on your Identity Provider with this metadata file.
Now, you must create a user account, who will be given access rights on the administration interface.
In Larpe administration interface, click on "Users", then "New User".
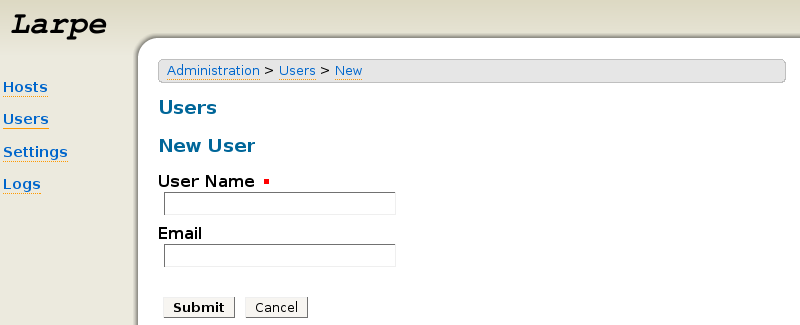
Give it a name and optionnaly his email address.
Then click on the "token" button (with gear icon), then "generate" button, then "send by email" button.
After that, get your email on the address you just gave, and click on the link in this email.
A Single Sign On will be initiated to the Identity Provider. If you, or the user you created the account for, were not authenticated yet, it will ask for your password. After that, your account is federated, and the administration interface will be restricted.
Next time you go unauthenticated on the administration interface, it will initiate an SSO to the identity provider as well.
This section explains how to configure new Service Providers (also named "Hosts") with Larpe.
Click on "Hosts" then "New Host".
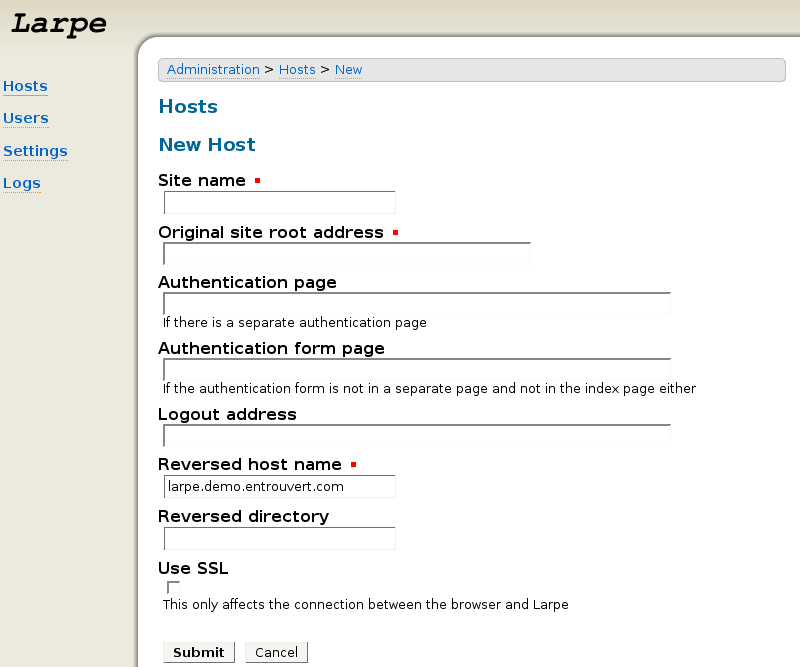
Fill in the following parameters:
You will see all the current parameters for this host. Your new host is probably not fully configured for SSO but you should already be able to access its home page. If you have a warning message telling it's not fully configured, just ignore it for the moment and check if this hosts is accessible already:
Add this new hostname to your DNS (or locally in /etc/hosts).
Then click on the "New url for this host" field on the current page to check you can access this new host.
To help you setup your own Service Provider, we provide an example of a working Service Provider to guide you.
To setup Linuxfr, fill in the following parameters:
Don't forget to add this new hostname to your DNS (or locally in /etc/hosts) as well.
You can then go to the reversed Linuxfr at http://linuxfr.reverse-proxy.example.com/.
Now that you can access your Service Provider, you need a final step to use Liberty Alliance features. Click on "Hosts", then click on the "Edit" icon of the Service Provider you've just configured. Save the Service Provider Metadata (for ID-FF 1.2) (right click then "Save as"). Configure this Service Provider on your Identity Provider with this metadata file.