
Larpe est un reverse proxy (mandataire inverse) Liberty Alliance. Il permet à n'importe quel fournisseur de services d'utiliser les fonctionnalités Liberty Alliance (fédération d'identité, Single Sign-On et Single Logout) sans avoir à modifier le code du fournisseur de service lui-même. Il repose sur la bibliothèque Lasso, certifiée par le consortium Liberty Alliance.
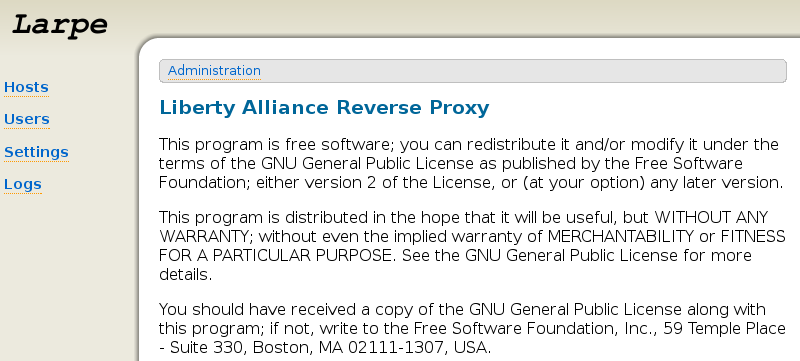
Lasso et Larpe sont publiés selon les termes de la licence GNU GPL.
Les moteurs de sites suivants ont été testés et fonctionnent parfaitement avec Larpe (liste non exhaustive) :
ainsi que d'autres sites spécifiques et non publics.
Larpe a besoin des logiciels suivants :
Vous avez également besoin d'un fournisseur d'identité Liberty Alliance, installé sur le même serveur ou non. Nous recommandons Authentic pour cet usage.
Ajoutez la ligne suivante dans le fichier
/etc/apt/sources.list, cela vous donnera l'accès au dépôt où le paquet Larpe se trouve :
deb http://deb.entrouvert.org/ sarge main
En tant que root tapez :
# apt-get update
# apt-get install larpe
Commencez par installer ces logiciels :
Téléchargez et installez ensuite ces logiciels supplémentaires :
Décompressez les sources que vous avez téléchargées :
$ tar xzf larpe*.tar.gz
$ cd larpe*
Contrôlez les quelques variables au début du Makefile et modifiez les si nécessaire. Puis pour installez Larpe, en tant que root :
# make install
Larpe est alors installé mais pas encore configuré. Vous pouvez le lancer avec :
# su www-data
$ /usr/sbin/larpectl.py start
Vous pouvez créer un script init.d pour le lancer au démarrage.
Pour désinstaller Larpe, tapez en tant que root :
# make uninstall
Chargez les modules Apache 2 suivants, avec les outils propres à votre distribution :
Si c'est votre première installation de Larpe, le fichier /etc/apache2/sites-available/apache2-vhost-larpe n'existe pas. Copiez le depuis les sources de Larpe en tant que root :
# cp apache2-vhost-larpe /etc/apache2/sites-available/apache2-vhost-larpe
Éditez le fichier /etc/apache2/sites-available/apache2-vhost-larpe pour configurer Apache 2 pour Larpe. Vous verrez ces lignes :
ServerName localhost
ServerAdmin root@localhost
Remplacez ces valeurs par votre nom de domaine pour Larpe et votre adresse email. Il se peut que vous deviez changer également cette ligne en fonction de votre configuration Apache2 :
<VirtualHost *:80>
Si le nom d'hôte que vous avez choisi n'est pas dans votre DNS, n'oubliez pas d'ajouter une entrée dans votre fichier /etc/hosts. Si vous souhaitez utiliser SSL (https) pour Larpe ou pour n'importe quel site configué dans Larpe, il vous faudra configurer le support SSL dans votre server Apache2 en premier lieu. Activez cet hôte virtuel en tant que root :
# a2ensite apache2-vhost-larpe
Vous pouvez recharger apache (toujours en tant que root). Avec la plupart des distributions, c'est :
# /etc/init.d/apache2 reload
Dans Fedora :
# /etc/init.d/httpd reload
Larpe fonctionne, l'interface d'administration est accessible http://votre-nom-de-domaine/admin/ .
Si vous ne disposez pas encore d'un fournisseur d'identité, vous pouvez installer Authentic.
Vous trouverez des informations sur la façon d'installer et de configurer Authentic dans le Guide de l'administrateur Authentic. Dans l'interface d'administration de Larpe, cliquez sur "Paramètres", puis sur "Fournisseur d'identité".
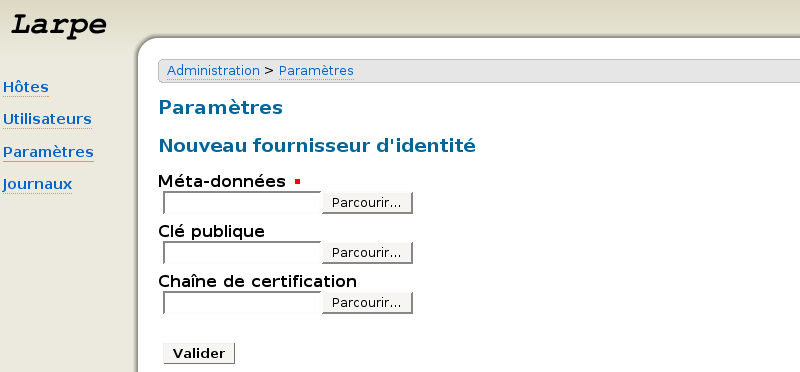
Indiquez l'endroit où se trouve le fichier de metadata de votre fournisseur d'identité puis cliquez sur Valider. Votre fournisseur d'identité est maintenant configuré dans Larpe, vous pouvez configurer autant de fournisseurs de service que vous le souhaitez.
Afin de restreindre l'accès à l'interface d'administration de Larpe, vous devez configurer Larpe en tant que fournisseur de service. Cliquez sur "Paramètres", puis sur "Fournisseur de service".
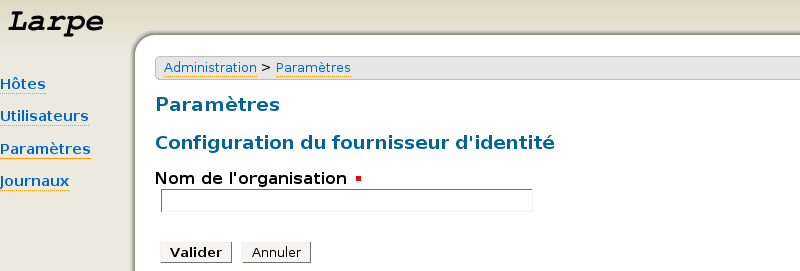
Saisissez un "Nom d'organisation" puis cliquez sur Valider. Sauvegardez les metadata du fournisseur de service en faisant un clic droit puis "enregistrer sous" (elle concerne ID-FF 1.2). Configurez ce fournisseur de service sur votre fournisseur d'identité à l'aide du fichier de metadata.
Maintenant, vous pouvez créer un utilisateur qui aura les droits d'accès à l'interface d'administration. Dans l'interface d'administration de Larpe, cliquez sur "Utilisateurs", puis "Nouvel utilisateur".
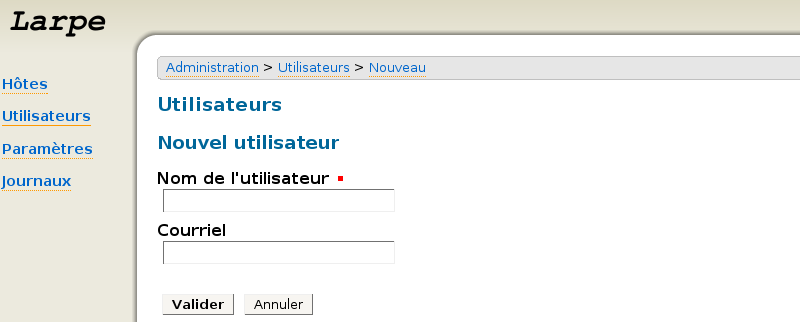
Saisissez un nom et éventuellement un courriel. Cliquez sur le bouton "jeton" (l'engrenage), sur le bouton "générer", puis sur le bouton "envoyer par courriel". Ensuite, lisez le mail reçu et cliquez sur le lien qu'il contient. Un single SIgn-On sera initié avec le fournisseur d'identité. Si vous n'étiez pas encore authentifié, votre mot de passe vous est demandé. Votre compte est alors fédéré et l'accès à l'interface d'administration est restreint.
Cette section détaille comment configurer un nouveau fournisseur de services (aussi appelé hôte) en utilisant Larpe.
Cliquez sur "Hôte" puis sur "Nouvel Hôte".

Saisissez les paramètres suivants :
Pour vous aider à configure votre propre fournisseur de service, nous fournissons un exemple d'un service fonctionnel. Pour paramétrer Linuxfr, saisissez les éléments suivants :
Avec "reverse-proxy.example.com" comme nom d'hôte paramétré préalablement pour votre reverse proxy. N'oubliez pas d'ajouter ce nouvel hostname à votre DNS (ou localement à votre fichier /etc/hosts). Vous pouvez alors allez sur Linuxfr http://linuxfr.reverse-proxy.example.com/
Vous pouvez maintenant accéder à votre fournisseur de service, il reste une dernière étape pour utiliser les fonctionnalités Liberty Alliance. Cliquez sur "Hôtes", puis sur l'icône d'édition du fournisseur de service concerné. Sauvegardez les metadata du fournisseur de service en faisant un clic droit puis "enregistrer sous" (elle concerne ID-FF 1.2). Configurez ce fournisseur de service sur votre fournisseur d'identité avec ce fichier de metadata.
Larpe is a Liberty Alliance Reverse Proxy. It allows any service provider (that is a website) to use Liberty Alliance features (Identity federation, Single Sign On and Single Logout) without changing the code of the service provider itself. It uses the Lasso library which is certified by the Liberty Alliance consortium.
Lasso and Larpe are released under the terms of the GNU GPL license.
The following site engines have been tested and fully work with Larpe (non-exhaustive) :
as well as other specific and not public sites.
Larpe needs the following softwares:
Add the following line in the file /etc/apt/sources.list, this will give you access to the repository where Larpe is stored:
deb http://deb.entrouvert.org/ sarge main
# apt-get update
# apt-get install larpe
First install these softwares:
Then download and install these additional softwares:
Uncompress the sources you have downloaded
$ tar xzf larpe*.tar.gz
$ cd larpe*
Then install Larpe, as root:
# make install
# su www-data
$ /usr/sbin/larpectl.py start
When you want to uninstall Larpe, just type, as root:
# make uninstall
Load the following Apache 2 modules, using your distribution specific tools :
# cp apache2-vhost-larpe /etc/apache2/sites-available/apache2-vhost-larpe
Edit the file /etc/apache2/sites-available/apache2-vhost-larpe to configure Apache 2 for Larpe. You will see these lines:
ServerName localhost
ServerAdmin root@localhost
You may also need to change this line, depending on your general Apache 2 configuration:
<VirtualHost*:80>
If you intend to use SSL (https) for Larpe or for any site you will configure in Larpe, you will have to configure SSL support on your Apache 2 server first.
Activate this virtual host, as root:
# a2ensite apache2-vhost-larpe
# /etc/init.d/apache2 reload
# /etc/init.d/httpd reload
If you don't have an Identity Provider yet, you can install Authentic. You can find information to install and configure it on Authentic manual.
In Larpe administration interface, click on "Settings", then "Identity Provider".
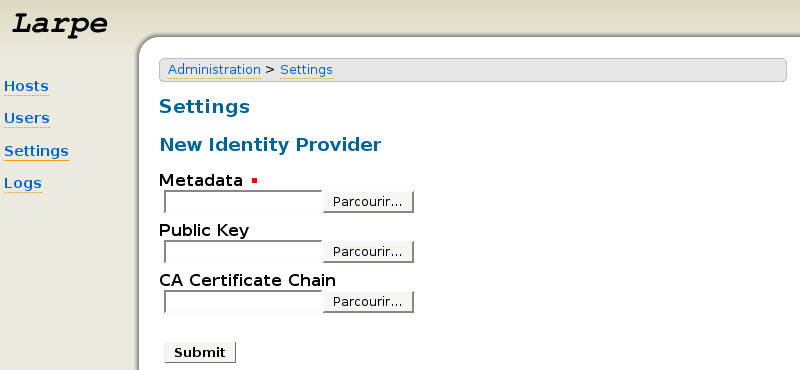
Fill in the metadata file that you've got from your Identity Provider then click Submit. Your Identity Provider is now configured in Larpe, you can then configure as many Service Providers as you want.
In order to restrict access to Larpe administration, you must configure Larpe as a Service Provider.
Click on "Settings", then "Service Provider".
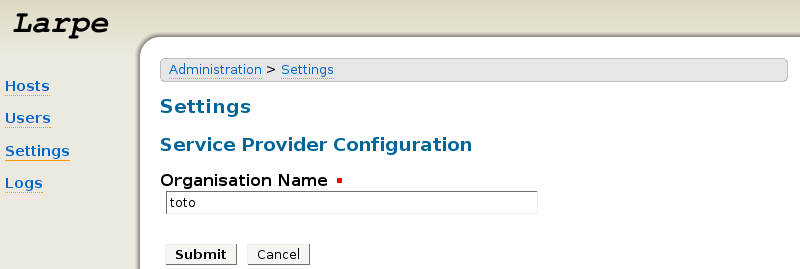
Fill an "Organisation Name" then click "Submit".
Save the Service Provider Metadata (for ID-FF 1.2) (right click then "Save as"). Configure this Service Provider on your Identity Provider with this metadata file.
Now, you must create a user account, who will be given access rights on the administration interface.
In Larpe administration interface, click on "Users", then "New User".
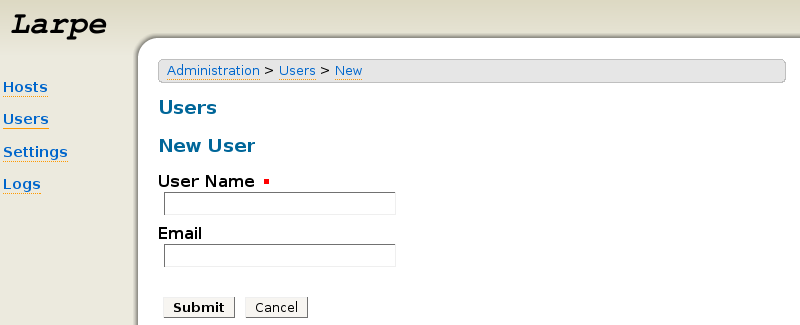
Give it a name and optionnaly his email address.
Then click on the "token" button (with gear icon), then "generate" button, then "send by email" button.
After that, get your email on the address you just gave, and click on the link in this email.
A Single Sign On will be initiated to the Identity Provider. If you, or the user you created the account for, were not authenticated yet, it will ask for your password. After that, your account is federated, and the administration interface will be restricted.
Next time you go unauthenticated on the administration interface, it will initiate an SSO to the identity provider as well.
This section explains how to configure new Service Providers (also named "Hosts") with Larpe.
Click on "Hosts" then "New Host".
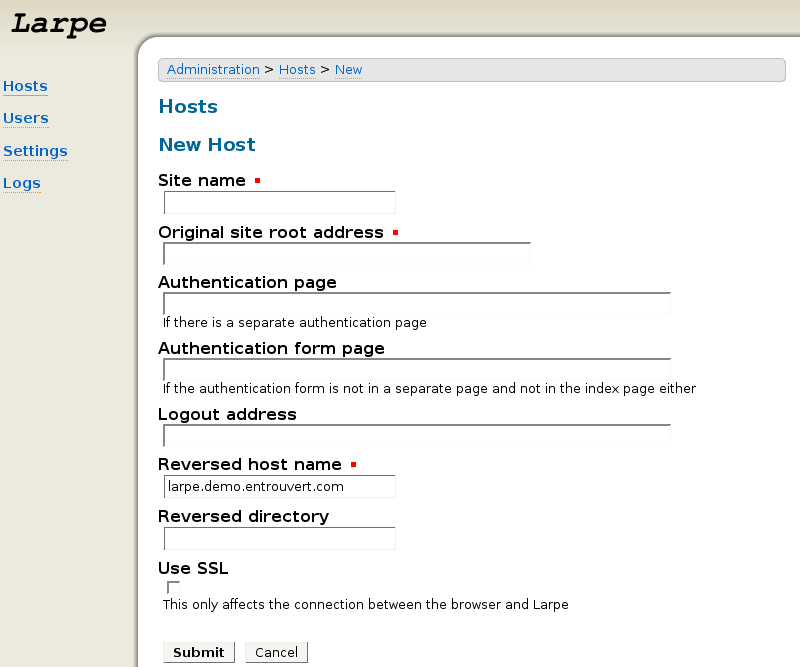
Fill in the following parameters:
You will see all the current parameters for this host. Your new host is probably not fully configured for SSO but you should already be able to access its home page. If you have a warning message telling it's not fully configured, just ignore it for the moment and check if this hosts is accessible already:
Add this new hostname to your DNS (or locally in /etc/hosts).
Then click on the "New url for this host" field on the current page to check you can access this new host.
To help you setup your own Service Provider, we provide an example of a working Service Provider to guide you.
To setup Linuxfr, fill in the following parameters:
Don't forget to add this new hostname to your DNS (or locally in /etc/hosts) as well.
You can then go to the reversed Linuxfr at http://linuxfr.reverse-proxy.example.com/.
Now that you can access your Service Provider, you need a final step to use Liberty Alliance features. Click on "Hosts", then click on the "Edit" icon of the Service Provider you've just configured. Save the Service Provider Metadata (for ID-FF 1.2) (right click then "Save as"). Configure this Service Provider on your Identity Provider with this metadata file.
Larpe is a Liberty Alliance Reverse Proxy. It allows any service provider (that is a website) to use Liberty Alliance features (Identity federation, Single Sign On and Single Logout) without changing the code of the service provider itself. Its Liberty Alliance compliance relies on Lasso, a free (GNU GPL) implementation of the Liberty Alliance specifications.
It is a Quixote application and is commonly run inside Apache web server.
The most recent version of Larpe is 1.1.1 and was released on July 20th 2010.
git clone http://repos.entrouvert.org/larpe.git
You can contact us on Larpe mailing list